Getting started
Setting up development environment
Setting up development environment to create a mod using JotunnLib and Visual studio:
- Download BepInEx for Valheim and extract the zip file into your root Valheim directory.
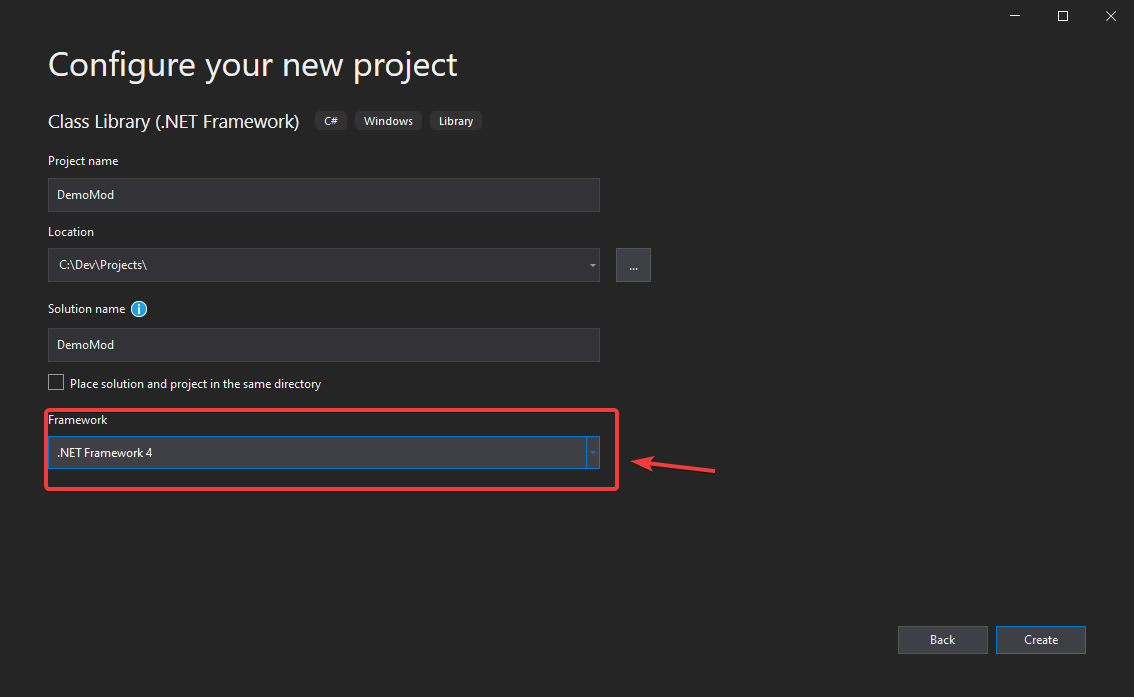
- Create a new Visual Studio project of type
Class Library (.NET Framework). Make sure that you select.NET Framework 4as the target framework. Do not select any higher version, as it will be incompatible with Valheim, since it's compiled using .NET Framework 4.
Adding references to the project:
Click
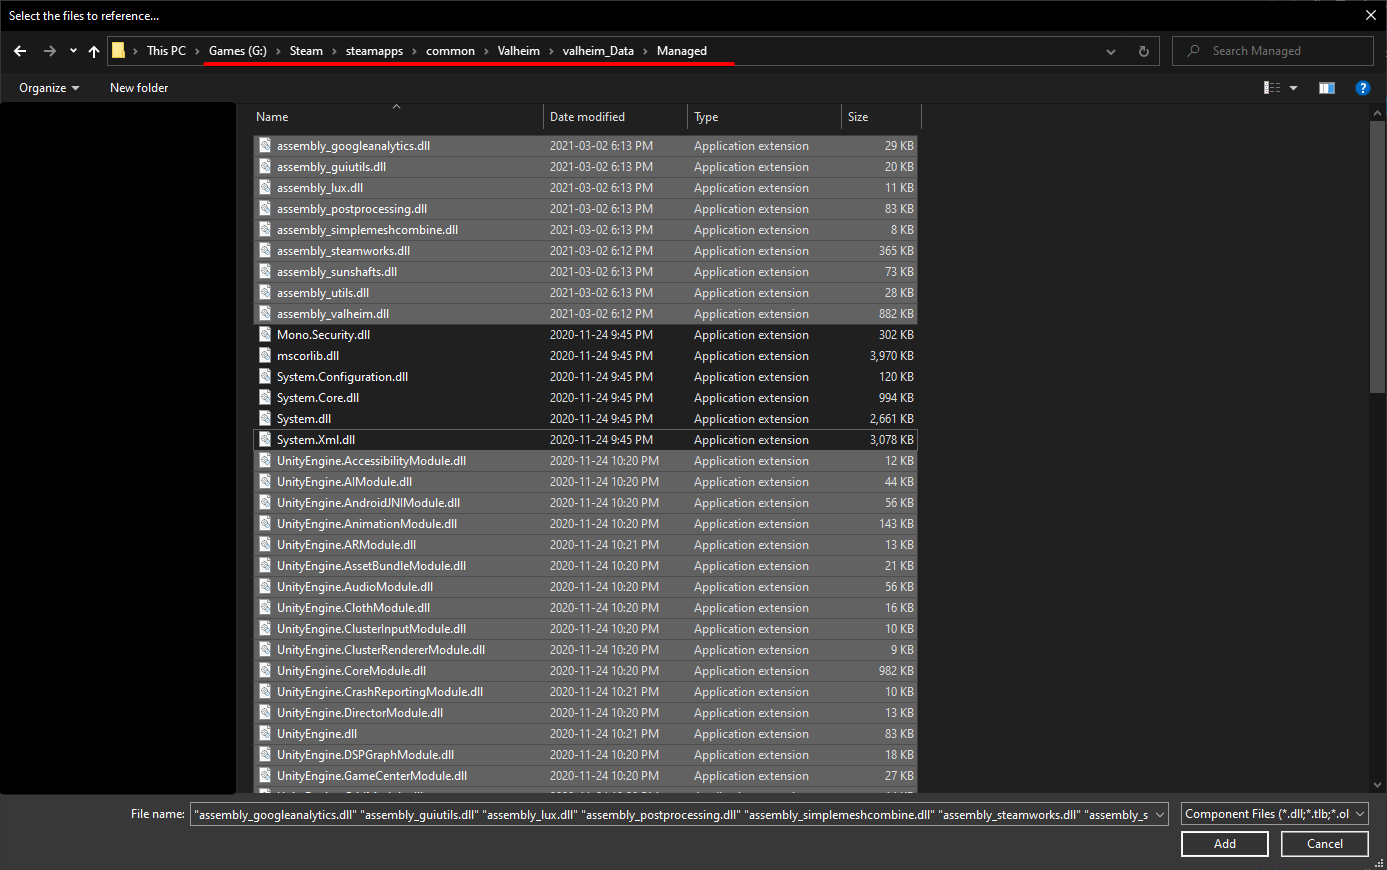
References > Add referenceNavigate to your Valheim folder (should be
<Steam path>/steamapps/common/Valheim/unstripped_corlib). Add all of the DLLs there except forMono.security.dll,mscorlib.dll,System.configuration.dll,System.dll, andSystem.xml.dll.
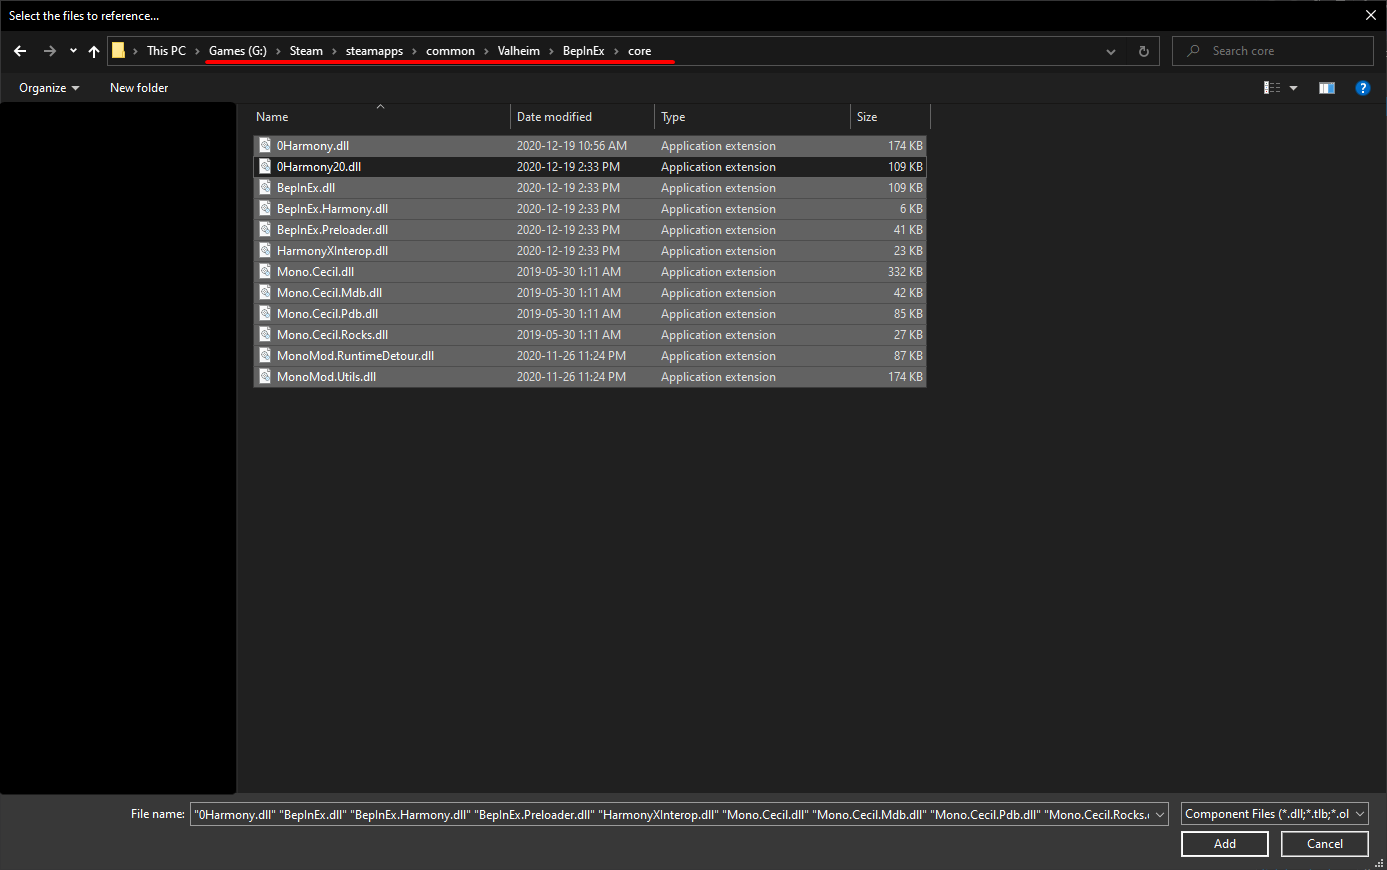
Navigate to your BepInEx core folder in Valheim (should be
<Steam path>/steamapps/common/Valheim/BepInEx/core). Add all of the DLLs there except for0Harmony20.dll.
Lastly, navigate to your BepInEx plugins folder, and add
JotunnLib.dllas an assembly.
- Using the
NuGet Packge Manager, download and installHarmonyXas a dependency.
Creating your mod
To use JotunnLib, you must add it as a BepInEx dependency. If possible, please use our JotunnLib.JotunnLib.ModGuid variable to reference our mod, to prevent against any issues if this changes in the future.
namespace TestMod
{
    [BepInPlugin("com.bepinex.plugins.testmod", "JotunnLib Test Mod", "0.0.1")]
    [BepInDependency(JotunnLib.JotunnLib.ModGuid)]
    public class TestMod : BaseUnityPlugin
    {
        // ...
    }
}
That's it! Now you can go about creating your mod as normal, using any HarmonyX or JotunnLib functionality as you wish.
Refer to the following sections for guides on how to use JotunnLib to add custom data to the game.
Installing your mod
Just like any other BepInEx mod, you can install it by just putting the mod DLL file in BepInEx/plugins, along with any other assets it may need.